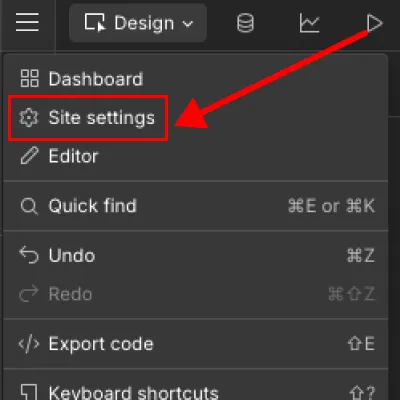
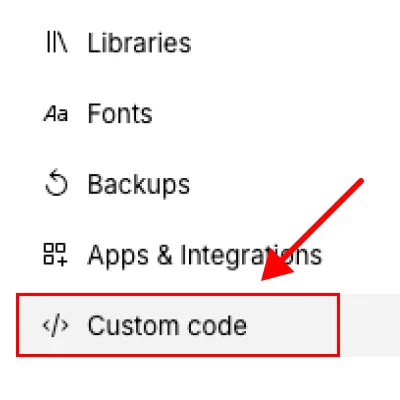
To locate and edit the animation scripts in your project:
“Before </body> tag” section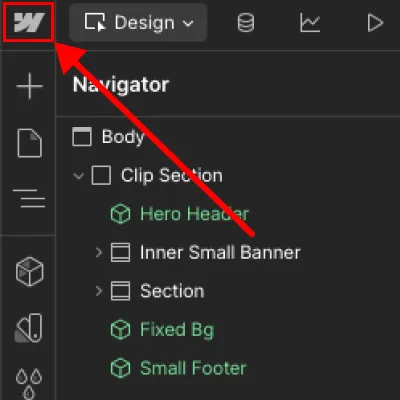
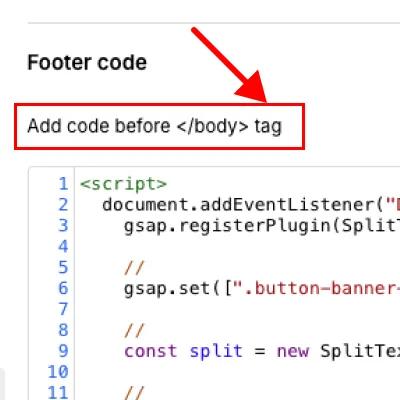
Below is a breakdown of the animation script and how you can adjust it:

.title - The class of the element being animated (in this case, your H1)..hero-heading) if you want to animate a different text.type: "words, chars" - Defines how the text is split."chars" - animate by characters"words" - animate by words"lines" - animate by lines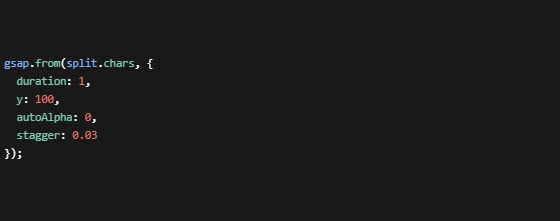
duration: 1 - How long the animation takes (1 second).y: 100 - Text starts 100px lower and moves up.autoAlpha: 0 - Text is invisible at first and fades in.stagger: 0.03 - Each letter comes in one after another, with a small delay.Always test changes on a duplicated version of your project. Animation values like duration, ease, and stagger can significantly affect the user experience. Experiment and preview in Webflow!
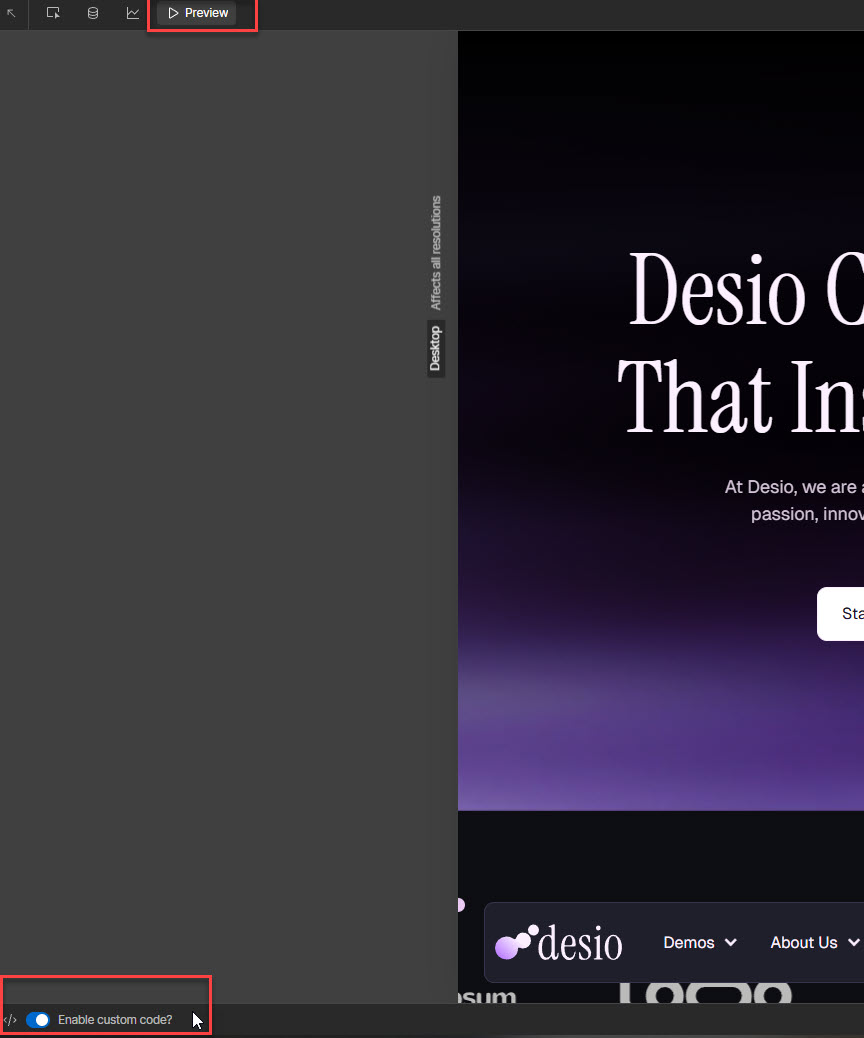
To give you more confidence and control in your deployment, we launched site previews with custom code. This allows you to preview the effects of any custom code before publishing it on your Webflow site — including animations written with GSAP.